
>>

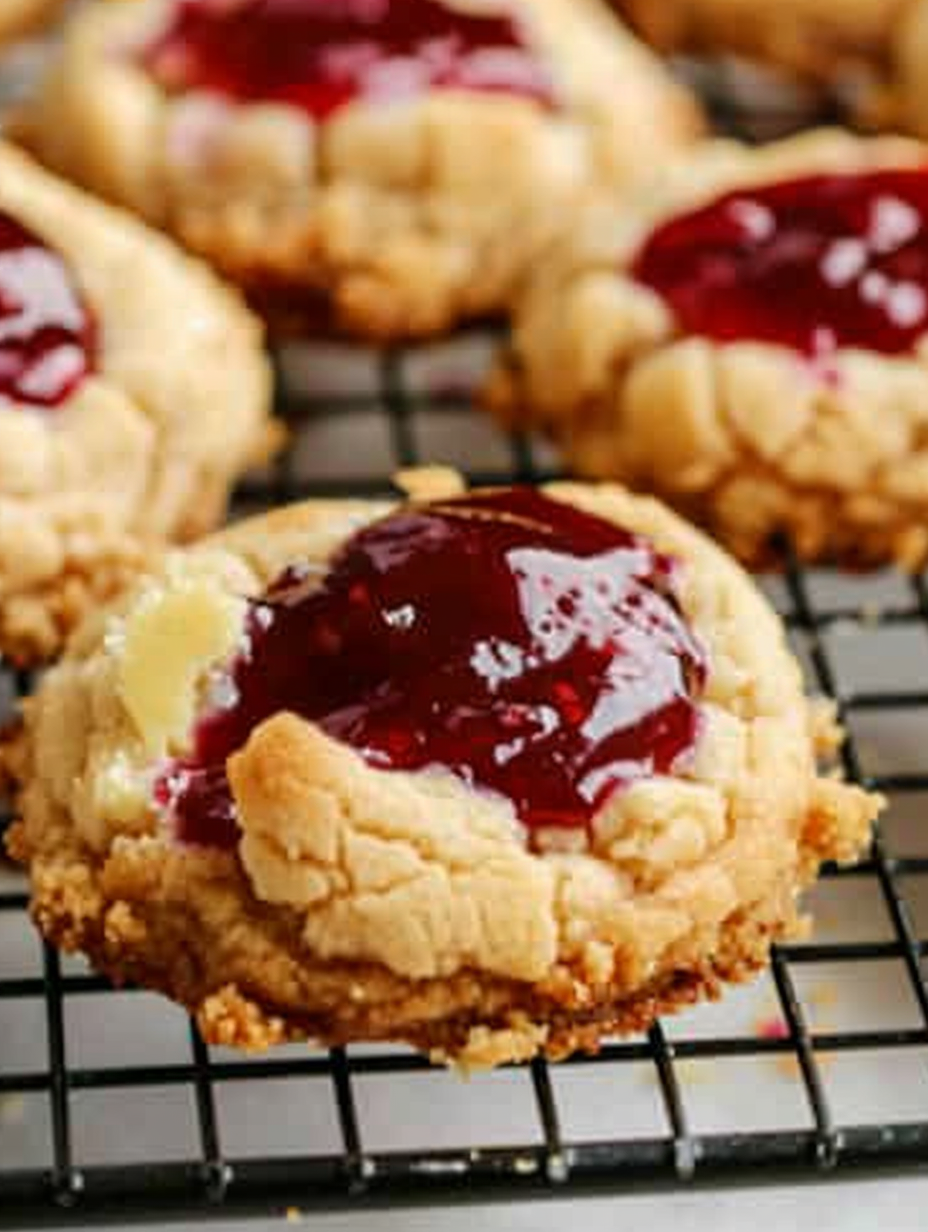
Soft, chewy cherry cheesecake cookies combine a tender cream cheese dough with graham cracker crunch and a burst of cherry pie filling — perfect for gatherings.
This recipe marries two dessert favorites into a single, crave-able bite: soft cream cheese cookie dough rolled in graham cracker crumbs and crowned with a spoonful of bright cherry pie filling. I first made these on a blustery December afternoon when I wanted something portable to bring to a cookie exchange. The dough is rich from cream cheese and butter but tender and delicate; baking briefly concentrates the flavors and leaves a slightly chewy center that holds the cherry filling like a little tart. They quickly became the cookie everyone asked about.
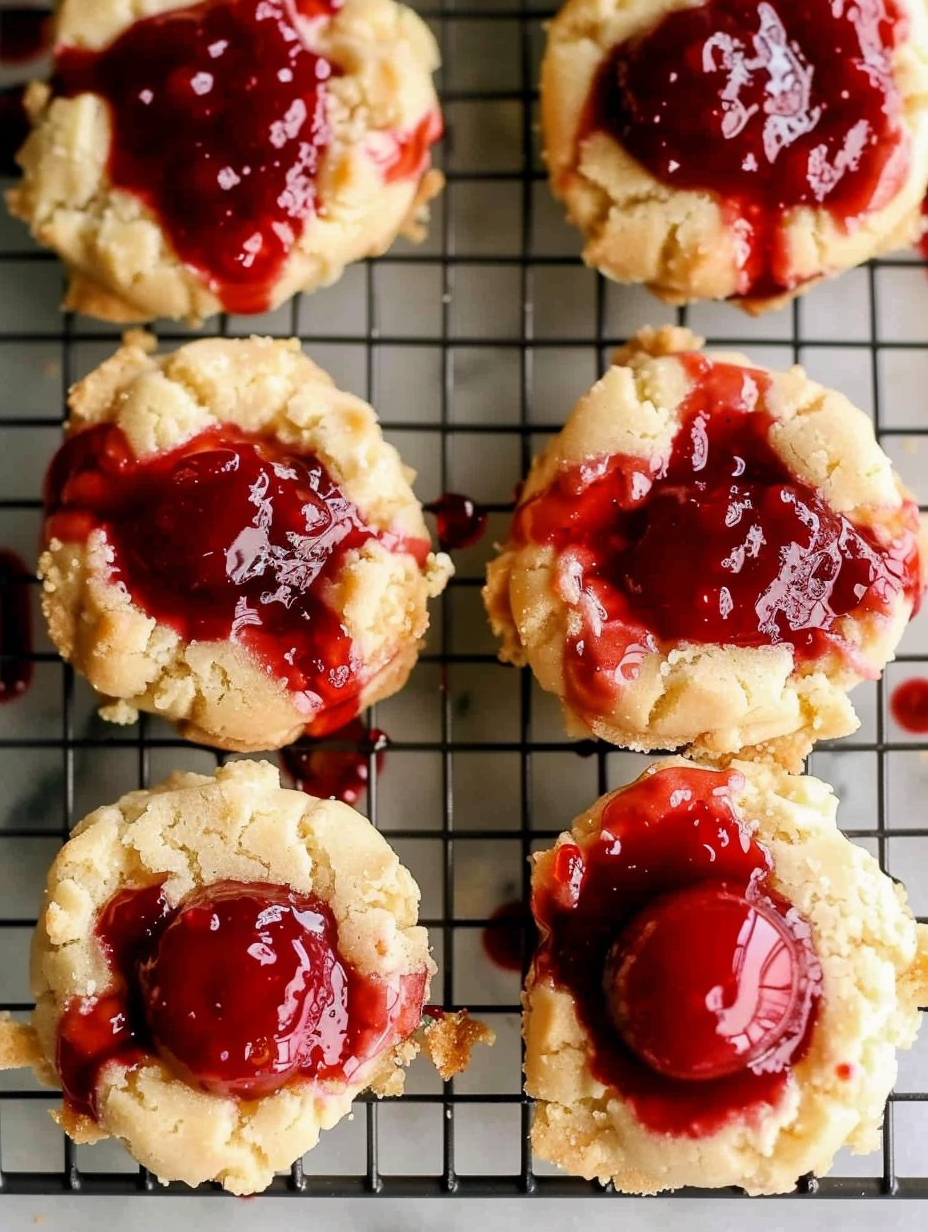
I discovered the balance of textures — the silky interior, the crumbly graham exterior, and the jewel-like cherry center — by trial and error. Using a chilled, stiff dough prevents the cookies from spreading too much so the thumbprint cup remains deep enough for the filling. The lemon zest cuts the richness just enough to keep the cookie bright and fresh. Whenever I make a batch it’s impossible not to sample one warm from the oven with the jammy cherry still glossy on top.
I first brought these to a family reunion and watched them disappear within an hour; friends asked for the recipe and the story of how the dough’s chill time was the key. Since then I’ve made them for bake sales and weeknight treats — they’re consistently the most requested repeat.
What I love most is how these small cookies feel celebratory without needing frosting or complicated piping. The contrast between the velvet interior and the crunchy graham exterior is the recipe’s hallmark, and family members always comment on the pretty jewel of filling in the center.
Keep baked cookies in a single layer or separated with parchment to avoid sticking. At room temperature, they stay soft for 48 hours in an airtight container; place a slice of bread in the container to help maintain moisture if you live in a dry climate. Refrigerate for up to 5 days — bring to room temperature before serving for best flavor. Unbaked, shaped and crumb-coated dough balls can be frozen on a tray for up to 3 months; when ready, imprint, bake directly from frozen, and add filling once cool.
If you need to swap ingredients, use equal volumes where possible: replace graham crumbs with crushed digestive biscuits for a slightly different flavor, or use gluten-free all-purpose flour and gluten-free graham crumbs to make them gluten-free (note texture will vary). For a lower-sugar option, choose a reduced-sugar pie filling and reduce powdered sugar by 1 to 2 tablespoons, but expect a slightly less tender crumb. Vegan substitutions are trickier because cream cheese and egg are structural — try a firm vegan cream cheese and a commercial egg replacer, though texture will differ.
Serve on a platter with a dusting of extra powdered sugar or a light drizzle of melted white chocolate for special occasions. They pair wonderfully with coffee or tea and make an elegant addition to dessert boards alongside shortbread and fruit. For a summer celebration, present them with fresh cherries or lemon slices to echo the flavors in the dough. They also work well individually wrapped for party favors.
Thumbprint-style cookies have roots in various European traditions where small jam-filled cookies were made for holidays. Combining cream cheese into cookie dough likely draws from American baking trends that favored richer, tender cookies in the mid-20th century. The graham cracker element is a nod to classic American cheesecake crusts, so these cookies are a compact, portable reinterpretation of cheesecake flavors in cookie form.
Swap fillings to match the season: use spiced apple butter in autumn, cranberry-orange conserve at winter holidays, or fresh berry compote in summer. Add warm spices like cinnamon and nutmeg to the dough for a fall twist, or stir a few teaspoons of finely chopped toasted nuts into the graham crumb coating for winter warmth. For holiday baking, top with a tiny sprig of candied zest for visual flair.
For large batches, prepare dough one day ahead and portion into balls before chilling. On bake day, place balls on trays and bake in batches; fill as cookies cool and pack in airtight boxes for gifting. If you plan to bake from frozen, label bags with baking times and keep a measured spoon of filling ready so assembly is quick and consistent.
These cookies are a small but delightful celebration of textures and flavors. Whether you’re making a tray for school or shaping them for a holiday table, they bring a bright, nostalgic note that’s easy to love.
Chill the dough at least 2 hours; a firm dough prevents spreading and retains the thumbprint well.
Beat the egg white only until foamy to help crumbs adhere — overbeating creates a stiff meringue-like coating.
Use a scant teaspoon of filling so it stays glossy and contained; too much will run off and make cookies soggy.
This nourishing cherry cheesecake cookies recipe is sure to be a staple in your kitchen. Enjoy every moist, high protein slice — it is perfect for breakfast or as a wholesome snack any time.
Yes. Dough balls can be frozen on a tray until solid, then transferred to a sealed container and frozen for up to 3 months. Bake from frozen, adding 1–2 minutes to the bake time.
Use a well-chilled dough and press deeply with your thumb. If cups are shallow after baking, use a small spoon to make a deeper pocket while cookies are still warm.
This Cherry Cheesecake Cookies recipe makes perfectly juicy, tender, and flavorful steak every time! Serve with potatoes and a side salad for an unforgettable dinner in under 30 minutes.
In a medium bowl, cream butter, cream cheese, egg yolk, vanilla, lemon zest, and salt until light and fluffy (about 2–3 minutes) to incorporate air for a tender texture.
Gradually beat in powdered sugar until combined, then add all-purpose flour and mix until a stiff, cohesive dough forms; avoid overmixing to prevent toughness.
Cover the bowl with plastic wrap and refrigerate for about 2 hours (or overnight) so the dough firms up and holds shape while baking.
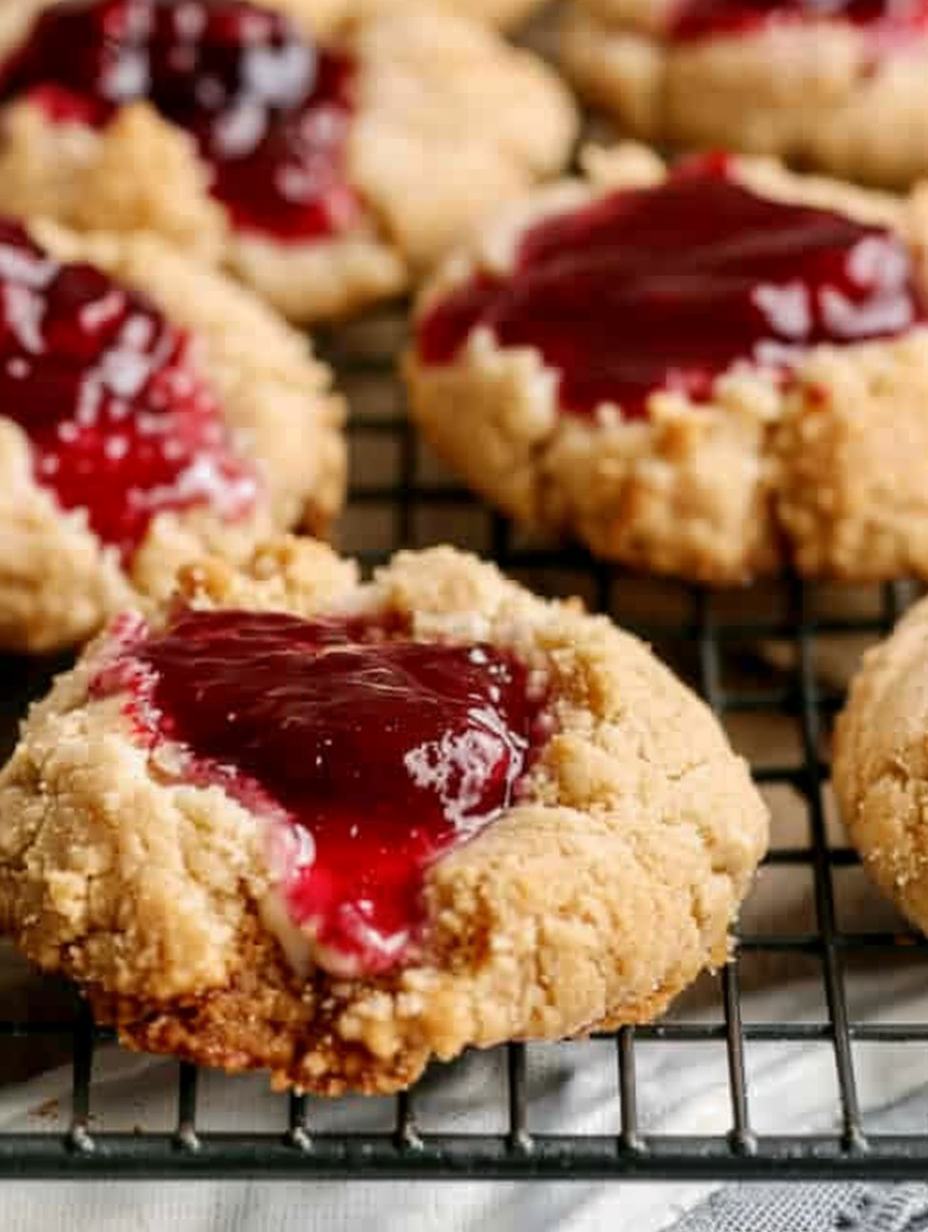
Preheat oven to 325 °F. Shape dough into 1-inch balls. Beat the reserved egg white until foamy, dip each ball in the white, then roll in graham cracker crumbs.
Arrange balls 2 inches apart on an ungreased sheet pan and press a deep indentation into each with your thumb. Bake 12–15 minutes until bottoms begin to brown.
Remove from pan to a cooling rack; when cool to the touch, spoon about 1 teaspoon of cherry pie filling into each depression and serve or store.
Last Step: Please leave a rating and comment letting us know how you liked this recipe! This helps our business to thrive and continue providing free, high-quality recipes for you.
Leave a comment & rating below or tag
@silksavor on social media!

Tender baked salmon crowned with a garlicky Parmesan herb crust, bright lemon, and buttery crunch. Simple to make, stunning to serve, and irresistibly flavorful.

Buttery graham crust, silky cheesecake, and cinnamon-kissed apples under a crunchy crumb, finished with glossy caramel. A fall crowd-pleaser you will crave.

Tender green beans in silky mushroom cream, crowned with crispy onions. A comforting holiday side made entirely from scratch that always disappears fast.
Leave a comment & rating below or tag @silksavor on social media!
Enjoyed this recipe? Share it with friends and family, and don't forget to leave a review!
This recipe looks amazing! Can't wait to try it.
Comments are stored locally in your browser. Server comments are displayed alongside your local comments.

Join to receive our email series which contains a round-up of some of our quick and easy family favorite recipes.
