
>>

Light and airy cloud eggs topped with melted Colby Jack, crispy bacon, and green onions. Ready in 20 minutes for a show-stopping breakfast or brunch.
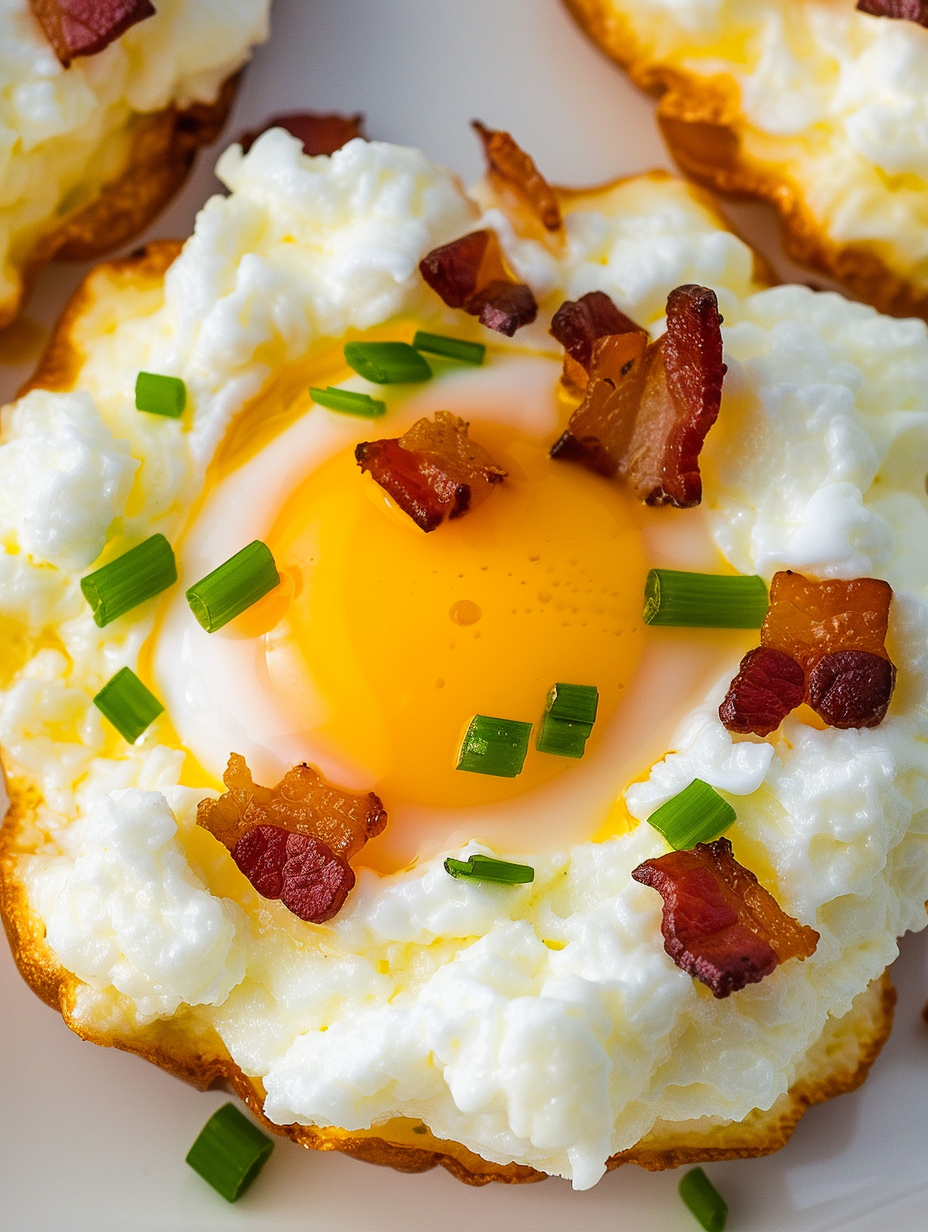
This recipe for fluffy Cloud Eggs is one you'll want to add to your weekly breakfast rotation. I first made these on a slow Saturday morning when I had extra time and a craving for something playful yet comforting. The contrast of airy whipped egg whites and a molten yolk in the center is a small, delicious surprise every time. It feels celebratory without being fussy, and the combination of melted Colby Jack, salty bacon, and bright green onions balances texture and flavor in a way that keeps everyone asking for more.
I discovered this method while experimenting with ways to make eggs feel more special for weekend guests. The very first attempt produced dramatic, cloud-like mounds that stayed tall through baking and cradled silky yolks perfectly. Since then, these have become my go-to for casual brunches, quick dinners, and when I want something satisfying but light. The technique relies on simple tools and a little patience when whipping whites, but the payoff is impressive presentation and an unforgettable bite.
In my experience, guests always comment on the dramatic look and delicate texture. My family was skeptical at first, but now these are requested for birthday breakfasts and slow weekend brunches alike. The technique taught me how to treat eggs like a canvas for flavor and texture rather than just a quick protein.
My favorite thing about this method is how it elevates a basic ingredient. The first time I served these to family, my niece pronounced them 'egg clouds' and requested them every birthday breakfast for a year. They are simple, elegant, and forgive small mistakes, which makes them perfect for cooks of all levels.
Storage is straightforward but limited by texture. Leftovers keep for up to 24 hours in the refrigerator in a shallow airtight container, though the crisp edges will soften. Reheat at 300°F for about 6 minutes covered with foil to avoid drying the yolk; expect a slightly firmer yolk after reheating. Do not freeze fully assembled portions. For longer storage, separate and freeze whipped whites in a freezer-safe container for up to one month and finish baking when ready to serve.
Vegetarian option: omit bacon and add sautéed spinach or sun-dried tomatoes for umami. Dairy-free: replace Colby Jack with a dairy-free shredded cheese or skip the cheese and fold in a teaspoon of nutritional yeast for a savory note, though volume may change slightly. For a richer flavor, use grated Gruyere or sharp cheddar; reduce salt if using aged cheese. If you prefer less salt, omit added salt and rely on bacon and cheese for seasoning.
Serve on toasted sourdough or multigrain bread for a hearty brunch, or alongside mixed greens with a bright vinaigrette for a lighter meal. Garnish with extra chopped herbs such as chives or parsley, and offer hot sauce or roasted cherry tomatoes on the side. These also make an elegant appetizer when halved and served on crostini for gatherings.
The idea of whipped egg whites baked with yolks echoes classic French techniques where eggs are treated to highlight texture, such as oeufs en neige and soufflé methods. Cloud eggs are a modern, playful adaptation that spread widely online due to their dramatic presentation. The technique borrows from culinary fundamentals of incorporating air into egg whites to create volume and gentle baking to set without overcooking yolks.
Spring: add fresh peas and young spinach in place of bacon for a lighter variation. Summer: top with diced ripe tomatoes and basil for brightness. Fall and winter: fold a tablespoon of roasted butternut squash puree into the whites and sprinkle with sage for a warm, seasonal twist. These swaps allow the same technique to adapt to seasonal produce and holiday tables.
For easy weekday breakfasts, whip the whites the night before and store them lightly covered in the refrigerator. In the morning, form the clouds and bake starting from chilled whites; you may need an additional minute or two. Cook and crumble bacon ahead, store in paper towel-lined container, and reheat briefly in a hot oven to regain crispness before topping.
These cloud eggs take a humble ingredient and make it memorable. They are approachable enough for a weekday treat and striking enough for guests. Try them once and you will see why they became a staple in my breakfast rotation.
Ensure the mixing bowl and beaters are completely dry and free of grease to achieve maximum volume when whipping whites.
Use room-temperature eggs for slightly faster whipping and better volume, but keep yolks chilled in separate bowls until ready to assemble.
Shape the whites carefully; they will bake in place so mound and form wells exactly how you want them to appear on the plate.
This nourishing cloud eggs recipe is sure to be a staple in your kitchen. Enjoy every moist, high protein slice — it is perfect for breakfast or as a wholesome snack any time.
If a yolk breaks during separation, use it for scrambled eggs or an omelet. Whipped whites must be free of yolk to form peaks.
Whip until stiff peaks form; the whites should stand straight when the beaters are lifted. If they droop, continue beating a little longer.
This Cloud Eggs recipe makes perfectly juicy, tender, and flavorful steak every time! Serve with potatoes and a side salad for an unforgettable dinner in under 30 minutes.
Preheat oven to 350°F and line a rimmed baking sheet with parchment paper. A rimmed sheet helps even airflow and contains any drips.
Crack eggs and separate whites into a clean bowl, storing yolks in individual small bowls. Keep yolks intact and chilled until ready to use.
Beat whites with an electric mixer until stiff peaks form, about 4 to 5 minutes. Ensure bowl and beaters are dry and grease-free for maximum volume.
Gently fold shredded Colby Jack and salt into whipped whites with a rubber spatula, using wide motions to preserve air and volume.
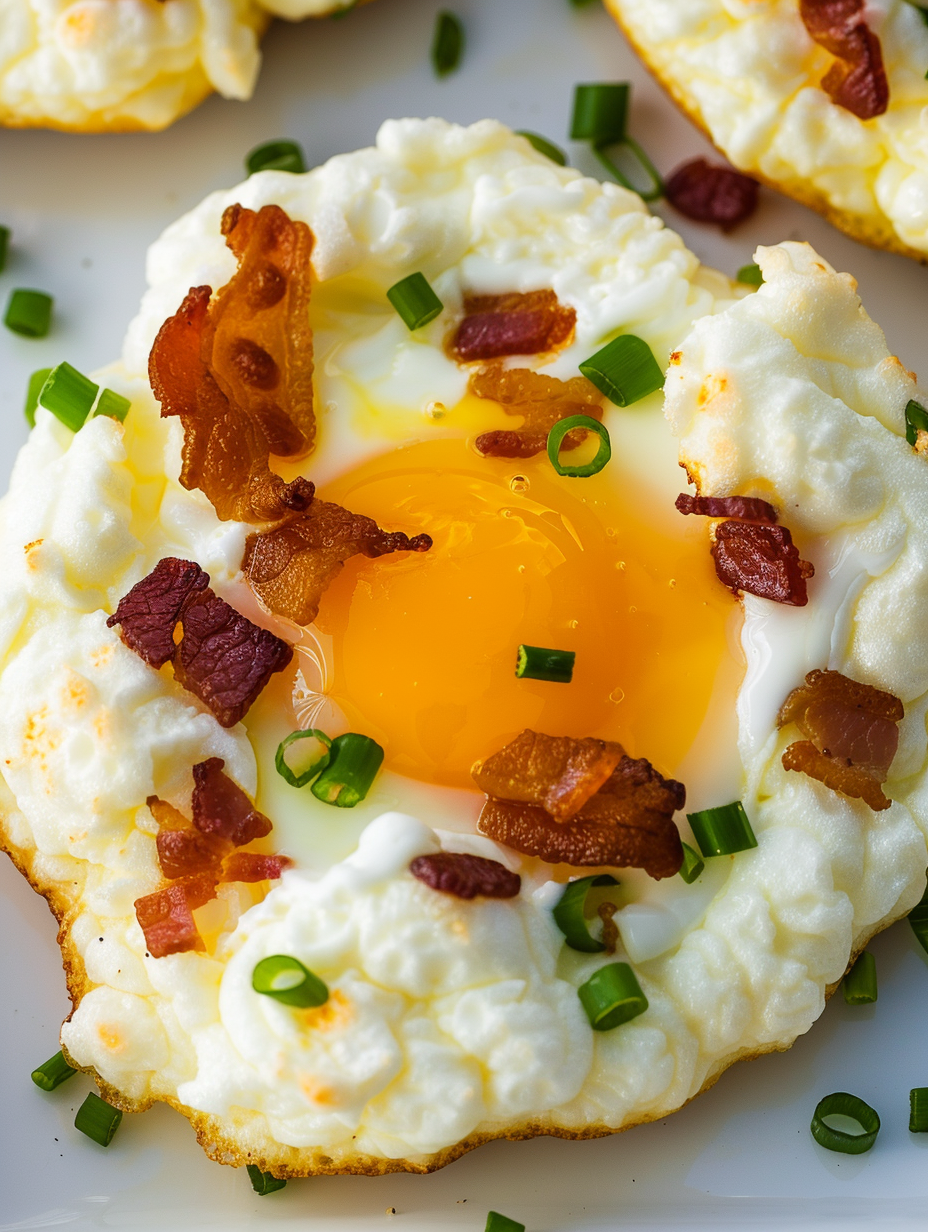
Spoon mixture into six even mounds on the lined tray and form shallow wells in the center with the back of a spoon to hold yolks later.
Bake just until set, about 6 minutes, until tops are dry and bases are firm. They should not jiggle when tray is tapped.
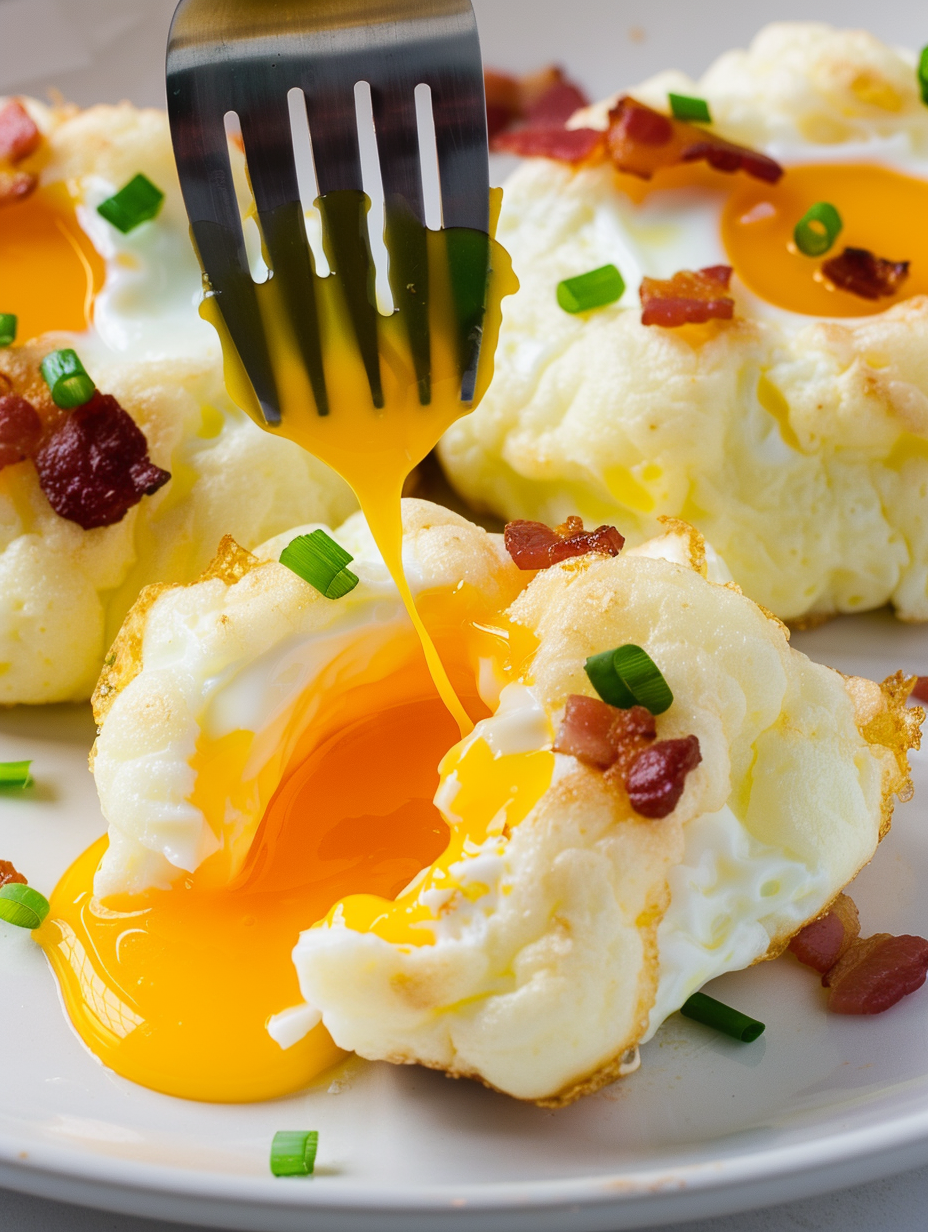
Carefully place one yolk into each well and bake 4 more minutes for runny yolks. Add 1 to 2 more minutes if you prefer firmer yolks.
Remove from oven, sprinkle with crumbled bacon and chopped green onions, and serve immediately for best texture.
Last Step: Please leave a rating and comment letting us know how you liked this recipe! This helps our business to thrive and continue providing free, high-quality recipes for you.
Leave a comment & rating below or tag
@silksavor on social media!

Tender baked salmon crowned with a garlicky Parmesan herb crust, bright lemon, and buttery crunch. Simple to make, stunning to serve, and irresistibly flavorful.

Buttery graham crust, silky cheesecake, and cinnamon-kissed apples under a crunchy crumb, finished with glossy caramel. A fall crowd-pleaser you will crave.

Tender green beans in silky mushroom cream, crowned with crispy onions. A comforting holiday side made entirely from scratch that always disappears fast.
Leave a comment & rating below or tag @silksavor on social media!
Enjoyed this recipe? Share it with friends and family, and don't forget to leave a review!
This recipe looks amazing! Can't wait to try it.
Comments are stored locally in your browser. Server comments are displayed alongside your local comments.

Join to receive our email series which contains a round-up of some of our quick and easy family favorite recipes.
