
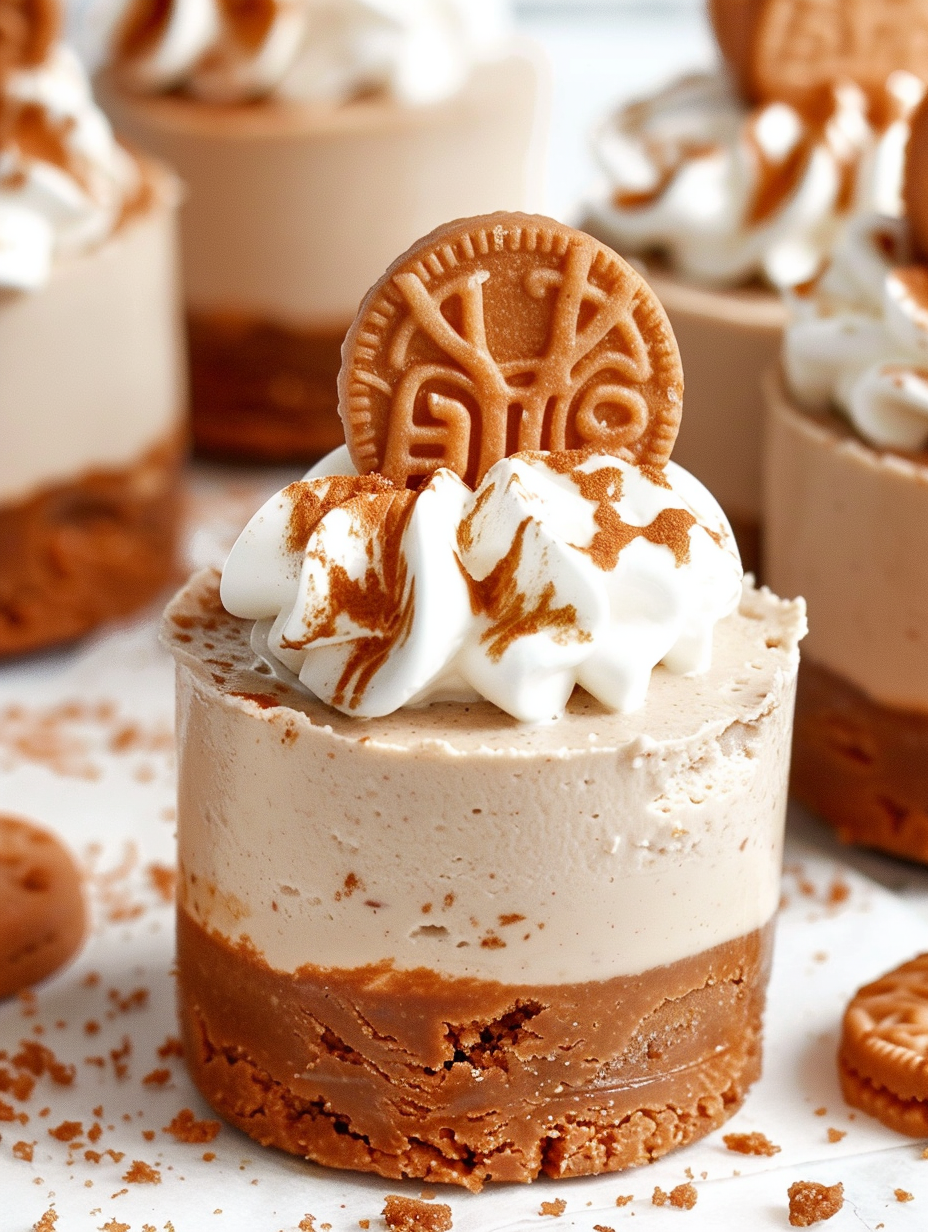
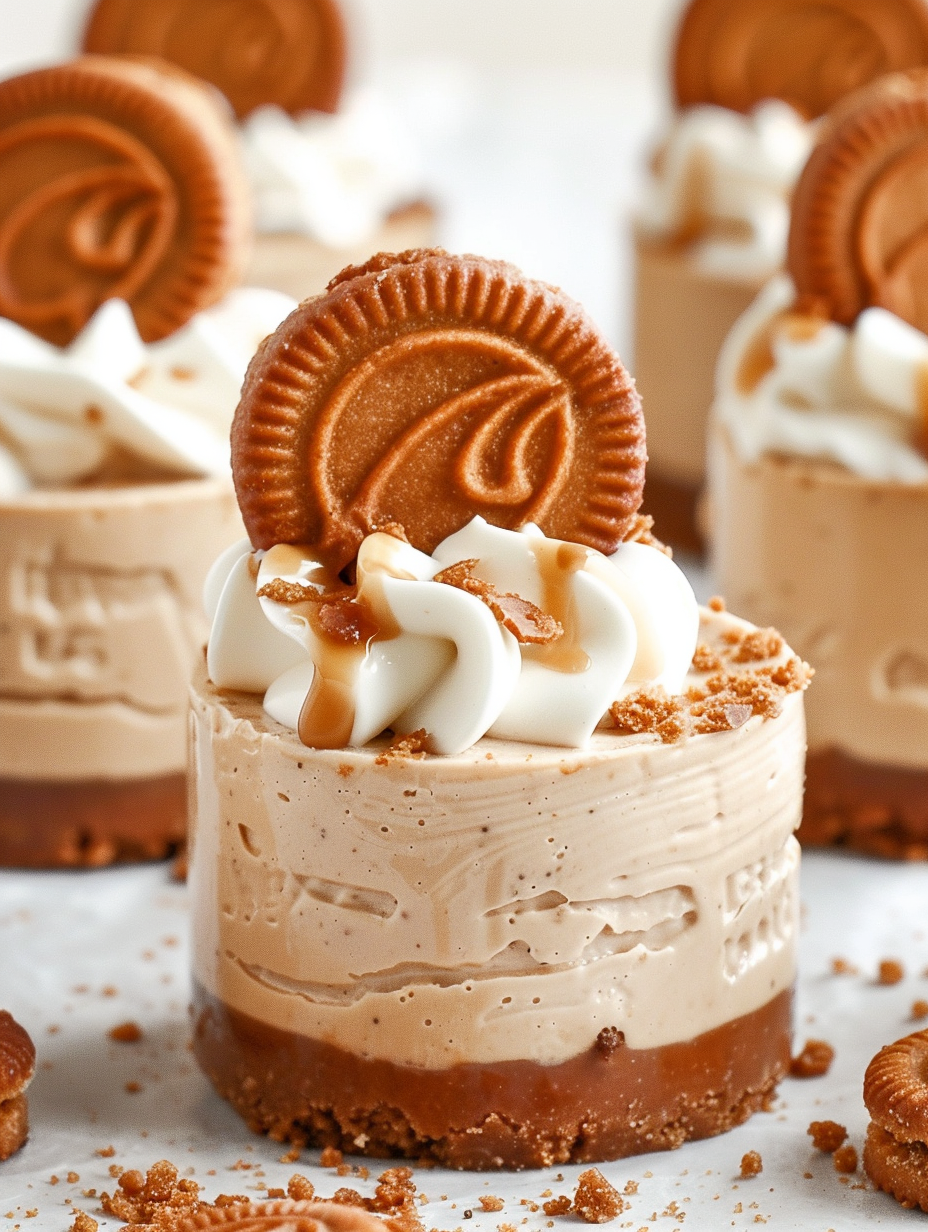
Mini No-Bake Biscoff Cheesecakes

Six-ingredient, vegan, no-bake mini Biscoff cheesecakes — creamy, dreamy and perfect for parties or an indulgent weeknight dessert.
This recipe is my go-to when I want something seriously indulgent without turning on the oven. I discovered this combination during a cozy weekend of experimenting with pantry staples and plant-based alternatives, and the results were so silky and balanced between cookie crunch and caramelized speculoos flavor that it instantly became a favorite to bring to gatherings. These little cheesecakes remind me of sharing desserts with friends on rainy afternoons: everyone takes a bite, goes quiet for a second, and then asks for another.
I love how the layers play together — a compact cookie cup that gives a satisfying snap followed by a luxuriously light, whipped filling that is gently flavoured with Biscoff spread and crushed biscuits. They freeze beautifully and thaw into the perfect chilled treat. The whole process is forgiving: there’s no baking, which keeps the kitchen cool, and the techniques are straightforward, so even beginner cooks will get consistently beautiful results.
Why You'll Love This Recipe
- Only six main ingredients plus a little extra for decoration — quick shopping and pantry-friendly. Uses readily available brands like Lotus Biscoff, Elmlea Plant-Based Double Cream Alternative and common vegan cream cheeses.
- No oven required: ready to assemble in about 25 minutes and set in the freezer, making it an ideal make-ahead dessert for parties and busy weeks.
- Highly adaptable: easy to scale up for a crowd, swap the cookie base, or make nut-free adjustments for dietary needs.
- Perfect portion control: mini size (makes 8–10) means guests can try a few desserts without feeling over-stuffed.
- Texture contrast: compact cookie cup gives structure while the whipped filling remains airy and creamy — a delightful combination every time.
- Great presentation potential: pipe the filling, swirl a small cream rosette and top with a whole biscuit for café-worthy results.
Personally, the first time I served these at a small dinner party they vanished faster than I could refill the platter. The push-up tin I use keeps each portion neat and the whipped topping gives them a bakery finish even though they’re no-bake. Family and friends kept asking for the recipe, and now it’s my standard party trick when I want something decadent but simple.
Ingredients
- Crushed Biscoff biscuits (base): Use regular Lotus Biscoff cookies — about 1 1/2 cups of crumbs (roughly 20 biscuits). The caramelized spice of Biscoff is the backbone of the flavour here; look for whole biscuits for easy crushing and a consistent flavor.
- Dairy-free butter / margarine (base): 3 1/2 tablespoons melted. I prefer a block-style dairy-free butter that firms up when chilled for a solid base — Flora Plant or Naturli are good options.
- Dairy-free whipping cream: 1 cup + 2 tablespoons for the filling and an extra 2 tablespoons for whipping for decoration. Elmlea Plant-Based Double Cream Alternative is my top pick because it whips up thick and stable.
- Dairy-free cream cheese: About 5.6 ounces (roughly 2/3 cup) — one standard small tub. Brands I use include Sainsbury’s Free From coconut-based cream cheese, Violife Dairy-free, or Nush almond-based cream cheese.
- Biscoff spread: Two heaped tablespoons folded into the filling, with an extra ~5 tablespoons reserved for filling pockets and drizzling (total approx 6–7 tablespoons). The spread brings that deep, biscuity caramel flavor and soft sweetness.
- Extra biscuits and spread for finishing: Whole Biscoff biscuits for decoration plus a little extra melted spread for drizzling and about 2 tablespoons whipping cream for a piped rosette.
Instructions
Prepare the base: Gently melt 3 1/2 tablespoons of dairy-free butter in a small saucepan over low heat. Meanwhile, pulse about 20 Biscoff biscuits in a food processor until fine crumbs form (about 1 1/2 cups). Mix the crumbs into the melted butter until the texture resembles damp sand. Press approximately 1/4 cup of the mixture firmly into each cavity of a push-up cookie cup tin (or a deep cupcake tin). Compacting firmly is the trick — press with the back of a tablespoon or the base of a small glass so the base holds together after freezing. Transfer the tin to the freezer while you make the filling. Whip the filling: In a chilled bowl, combine 1 cup + 2 tablespoons of dairy-free whipping cream with 5.6 ounces (about 2/3 cup) dairy-free cream cheese. Start whipping on low to prevent splatter, then increase to high until thick and billowy — about 4–6 minutes with a stand mixer and balloon whisk. If using a hand mixer, whip a little longer until the mixture holds soft peaks. Fold in flavor: Pulse 6 Biscoff biscuits in the blender until fine and fold them into the whipped mixture along with two heaped tablespoons of Biscoff spread. Whisk briefly to incorporate — you want an even speckling of biscuit but still a light texture. Transfer the filling to a piping bag fitted with a large round nozzle or use a zip-top bag with the corner snipped off. Assemble the cheesecakes: Pipe the filling into each chilled cookie cup, stopping a few millimetres from the top to allow for drizzling and decoration. Smooth the tops with an offset spatula. Add about 1 1/2 tablespoons of Biscoff spread into a small piping bag and pipe a small ribbon down the centre of each cheesecake (this makes a gooey pocket). Place the assembled tin back in the freezer for at least 4 hours, preferably overnight, until firm to the touch. Finish and serve: Once set, remove the tin from the freezer and let sit in the fridge for 1–2 hours before serving. Warm about 2 tablespoons of Biscoff spread with 2 tablespoons of dairy-free whipping cream until pourable and drizzle a little over each chilled cheesecake. Whip the reserved 2 tablespoons of cream to firm peaks, pipe a small rosette on top, and finish with a whole biscuit and a crumble sprinkle.
You Must Know
- These hold well in the fridge for up to 3 days when kept covered; frozen they last up to 3 months — thaw in the fridge for 1–2 hours before serving.
- Use a stable dairy-free double cream; single cream or coconut cream often won’t whip to the required thickness and can make the texture too soft.
- Portion control is easy: mini cheesecakes are roughly 120–180 calories each depending on size (see nutrition in structured data).
- Push-up tins with a base make removal neat; if using standard cupcake tins, line with baking cups and freeze until firm before unmolding.
I adore how these small desserts let me experiment — one batch, two different toppings, and suddenly the platter is varied and looks like a bakery selection. I often make two tins: one to freeze and one to serve immediately. Guests always comment on how light the filling feels despite the rich Biscoff flavor. It’s a great conversation starter at a dinner party because the flavours are familiar but the format feels special.
Storage Tips
Store in an airtight container in the refrigerator for up to three days. If you need to keep them longer, freeze for up to three months — wrap the entire tin in clingfilm and then a layer of foil, or remove and individually wrap portions in parchment and a sealed bag. To serve from frozen, transfer to the fridge for 1–2 hours or to the counter for 20–30 minutes until just softened; avoid microwaving as it will melt the texture unevenly. Keep decorated cheesecakes chilled until the moment you present them for the best appearance.
Ingredient Substitutions
If you can’t find Biscoff spread, a smooth cookie butter or a mild speculoos alternative will work, though flavor intensity varies. For the biscuits, graham crackers or digestive biscuits can be used but the spice profile will shift — consider adding a pinch of ground cinnamon and ginger to mimic Biscoff. For cream cheese, choose any firm dairy-free cream cheese; if yours is very soft, refrigerate it first for easier whipping. If nut-free is required, check labels and use soy or coconut-based cream cheeses that are certified nut-free.
Serving Suggestions
Serve chilled on a dessert platter with small spoons or as individual push-up servings. They pair beautifully with sharp espresso, a lightly sweetened oat latte, or fresh berries to cut the sweetness. For a party, present them on tiered stands with small labels indicating they’re vegan — they’re often a hit with mixed dietary groups. Garnish with candied pecans, a dusting of cocoa, or a drizzle of dark chocolate for contrast.
Cultural Background
Biscoff cookies originate in Belgium and are known for their caramelized, spiced flavor. The spread captures that profile and has become popular in many European-inspired desserts. These miniature no-bake desserts are a modern twist on classic chilled tarts and mirror the current trend of single-serve, high-impact sweets that travel well and are easy to plate attractively.
Seasonal Adaptations
In autumn, increase the warming spices with a pinch of nutmeg or allspice in the base. For winter holidays, top with sugared cranberries and a sprinkle of orange zest to brighten the profile. In summer, serve lighter by adding a citrus curd ribbon into the centre before freezing to balance sweetness, or keep them chilled and garnish with fresh summer berries for a refreshing contrast.
Meal Prep Tips
Make the bases and filling a day ahead: press bases into the tin and freeze, whip and fold the filling and keep it chilled in the fridge overnight in an airtight container, then assemble and freeze the next morning. Pack finished portions in single layers with parchment to prevent sticking. Using a piping bag speeds up assembly dramatically if you’re producing multiple tins for events or holiday trays.
These little desserts make hosting feel a little more elegant without hours of effort. Enjoy the process, personalize the toppings, and don’t be surprised if they become your new signature — I still get messages asking for the recipe after parties months later.
Pro Tips
Pack the cookie base firmly — compacting prevents crumbling when you remove the cheesecakes from the tin.
Chill your mixing bowl and whisk for quicker, more stable whipping of dairy-free cream.
Pipe a small ribbon of Biscoff spread into the centre of each cup before freezing for a gooey core that stays intact.
This nourishing mini no-bake biscoff cheesecakes recipe is sure to be a staple in your kitchen. Enjoy every moist, high protein slice — it is perfect for breakfast or as a wholesome snack any time.
FAQs about Recipes
How long do these keep?
Yes. Store in the refrigerator for up to 3 days or freeze for up to 3 months. Thaw in the fridge for 1–2 hours before serving.
Can I use coconut cream instead of Elmlea double cream?
Elmlea Plant-Based Double Cream Alternative is recommended because it whips thickly; single creams or some coconut creams may be too loose and won't set correctly.
Tags
Mini No-Bake Biscoff Cheesecakes
This Mini No-Bake Biscoff Cheesecakes recipe makes perfectly juicy, tender, and flavorful steak every time! Serve with potatoes and a side salad for an unforgettable dinner in under 30 minutes.
Ingredients
Base
Filling
Toppings
Instructions
Make the base
Melt the dairy-free butter over low heat and combine with finely crushed Biscoff crumbs until the mixture resembles damp sand. Press about 1/4 cup into each cavity of a push-up cookie cup tin, compacting firmly, then freeze while you prepare the filling.
Whip the filling
Whip dairy-free whipping cream with dairy-free cream cheese, starting on low and increasing to high until thick and fluffy (4–6 minutes). Fold in crushed biscuits and Biscoff spread until evenly incorporated.
Assemble and freeze
Pipe the filling into each chilled base, add a small ribbon of spread down the centre, smooth the tops, and return the tin to the freezer for at least 4 hours or overnight until firm.
Finish and serve
Warm a small amount of spread with cream and drizzle over chilled cheesecakes. Whip reserved cream for rosettes, pipe a swirl on top, and garnish with a biscuit and crumbs. Thaw in the fridge for 1–2 hours before serving.
Last Step: Please leave a rating and comment letting us know how you liked this recipe! This helps our business to thrive and continue providing free, high-quality recipes for you.
Nutrition
Did You Make This?
Leave a comment & rating below or tag
@silksavor on social media!
Categories:
You might also like...

Parmesan Herb Crusted Salmon
Tender baked salmon crowned with a garlicky Parmesan herb crust, bright lemon, and buttery crunch. Simple to make, stunning to serve, and irresistibly flavorful.

Caramel Apple Cheesecake Bars
Buttery graham crust, silky cheesecake, and cinnamon-kissed apples under a crunchy crumb, finished with glossy caramel. A fall crowd-pleaser you will crave.

Homemade Green Bean Casserole
Tender green beans in silky mushroom cream, crowned with crispy onions. A comforting holiday side made entirely from scratch that always disappears fast.
Did You Make This?
Leave a comment & rating below or tag @silksavor on social media!
Rate This Recipe
Share This Recipe
Enjoyed this recipe? Share it with friends and family, and don't forget to leave a review!
Comments (1)
This recipe looks amazing! Can't wait to try it.
Comments are stored locally in your browser. Server comments are displayed alongside your local comments.

Hi, I'm Julia!
What's Popular

30-Minute Meals!
Join to receive our email series which contains a round-up of some of our quick and easy family favorite recipes.