
>>

Crispy baked corn tortillas filled with seasoned shredded chicken and melting Monterey Jack for a crunchy, family-friendly weeknight favorite.
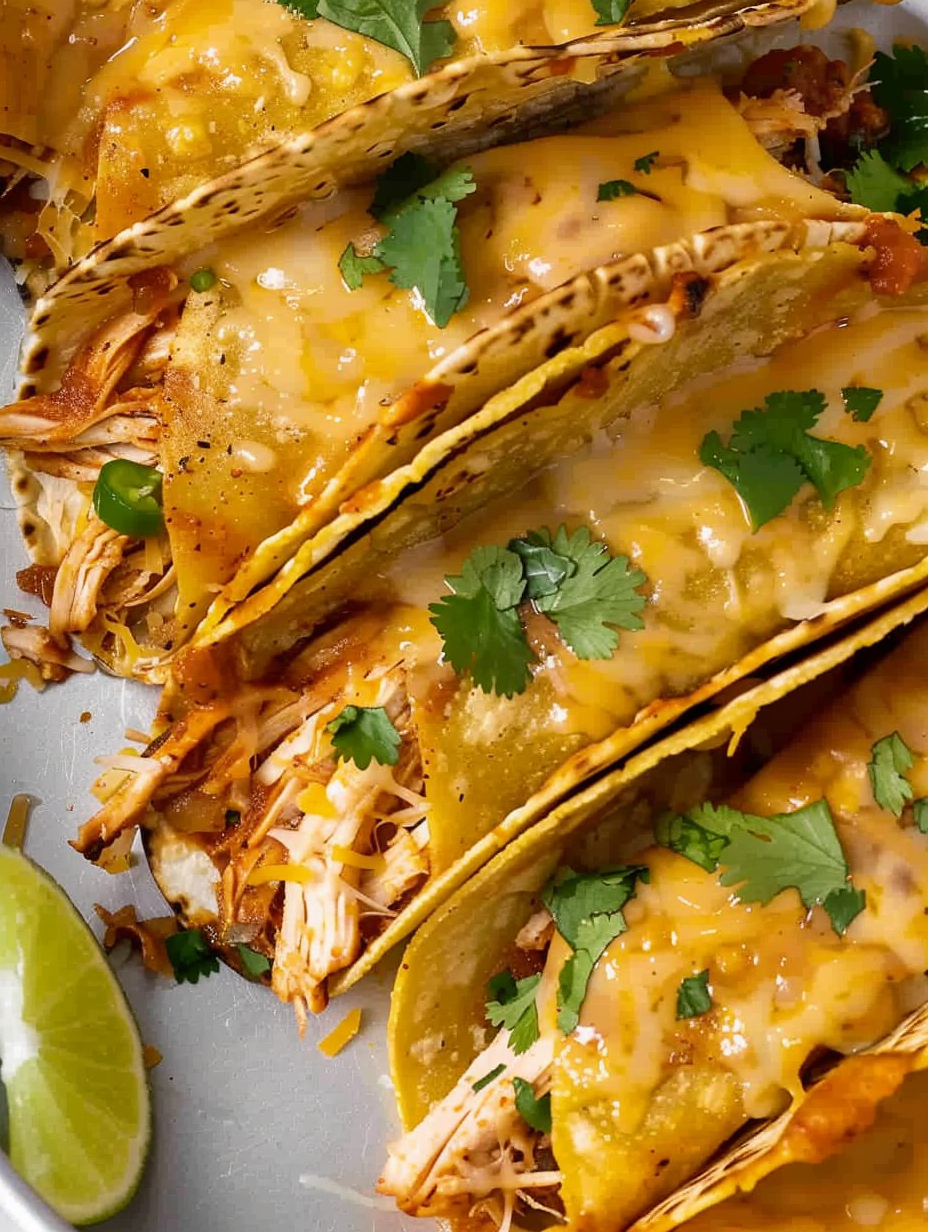
This recipe for Crispy Chicken Tacos has been my go-to when I want something that hits every comfort-food note: crunchy, cheesy, savory and fast. I first pulled this together on a chaotic weeknight when I had leftover roast chicken and a stack of corn tortillas begging for a purpose. The combination of shredded chicken tossed in taco seasoning, scandalous amounts of melting Monterey Jack, and the toasty crunch of corn tortillas baked until golden created a new family favorite almost overnight. My friends call them taco-taquitos — part taco, part taquito, part nacho — and they disappear at every gathering.
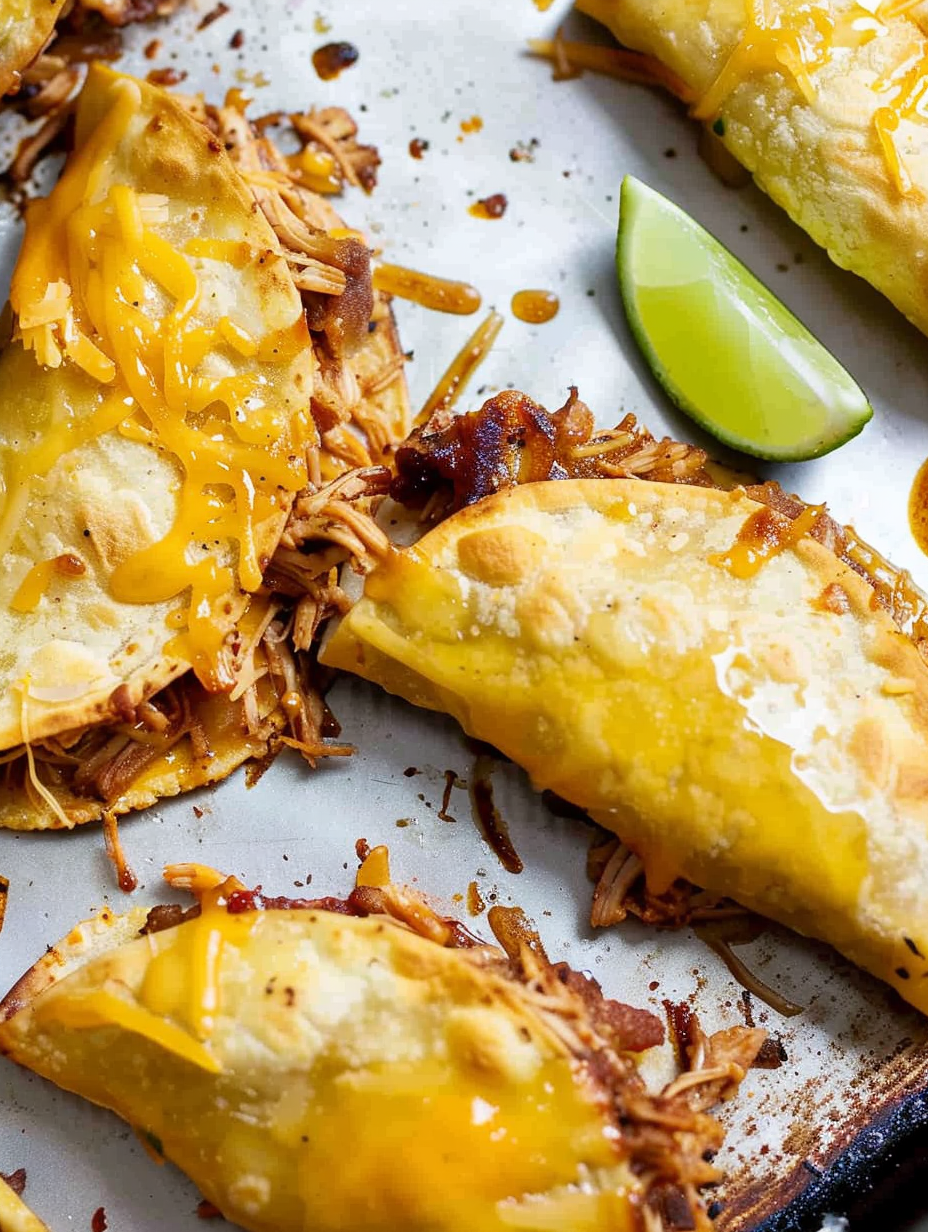
What makes these particularly special is the contrast of textures and the speed of the whole process. The tortillas are softened just enough to fold without cracking, brushed with a little olive oil so they crisp evenly, and baked until the cheese that escapes becomes crunchy and caramelized on the pan. The lime squeeze at the end brightens the whole thing and turns leftover chicken into something feel-like-a-treat. I’ve made these for busy weeknights, impromptu watch parties, and even potlucks — they travel well and reheat nicely if you stash extras.
Personally, I love watching people react to the first bite — the audible crunch followed by a satisfied nod. My teenage daughter declared these the new party food on her birthday menu, and my neighbors asked for the recipe after our last game night. They’re simple but feel special, which is the sweet spot for me.

My favorite part is how adaptable these are: change the cheese to cheddar for a sharper bite, swap in spicy salsa for a kick, or make mini versions for appetizers. At a summer block party, a neighbor told me these were the best handheld tacos she’d ever had — partly because they’re messy in the best possible way.
To keep texture and flavor, cool tacos completely before storing. Place a sheet of parchment or paper towel between layers to absorb excess moisture and store in an airtight container in the refrigerator for up to 3 days. Reheat on a baking sheet at 375ºF for 6–8 minutes to recapture crispness; avoid the microwave unless you’ll finish under the broiler for a minute to re-crisp. For freezing, lay tacos flat on a tray until solid, then transfer to a freezer-safe bag with parchment between layers; reheat from frozen at 375ºF for 12–16 minutes.
If you don’t have Monterey Jack, use 1 pound of sharp cheddar for a tangier profile or a Mexican blend for more complex flavor. For a lighter option, swap half the cheese for reduced-fat cheese, though melt and crisp will differ slightly. Use flour tortillas if corn isn’t available — they’ll crisp differently but still be delicious. For a vegetarian twist swap shredded chicken for black beans mixed with sautéed peppers and onions (about 3 cups cooked beans). Adjust taco seasoning to taste and add a squeeze of lime to lift bean fillings.
Serve these with bowls of guacamole, pico de gallo, shredded lettuce and sour cream so guests can assemble to taste. For sides, try a fresh corn salad, cilantro lime rice or a crunchy cabbage slaw. Garnish with chopped cilantro and a drizzle of creamy chipotle sauce for a smoky finish. Pair with cold Mexican lager or a fizzy lime soda for a complete meal.
The combination of tortillas, shredded meat and melted cheese draws on Mexican and Tex-Mex traditions where corn tortillas and roasted meats are central. Baking tortillas filled with cheese and meat to create a toasty handheld echoes taquitos and quesadillas — ideas that evolved differently across regions. These baked versions blend convenience with the charred, caramelized flavors you’d get from a griddle, making them an Americanized, crowd-pleasing interpretation.
In summer, add grilled corn kernels and diced tomatoes for bright sweetness. In fall, swap in warmed pumpkin spice-seasoned black beans and a sharper cheese to complement autumn flavors. For winter, use leftover slow-cooked shredded chicken braised in ancho and chipotle for deeper, smokier notes. Small tweaks like adding pickled onions or a winter citrus slaw will make the dish seasonally appropriate without changing the core technique.
To meal-prep, make the seasoned shredded chicken up to 3 days ahead and store chilled. Keep tortillas wrapped and damp in the fridge to maintain pliability; warm them briefly before assembling. Assemble tacos on baking sheets and refrigerate uncovered for up to 4 hours before baking to keep them from becoming soggy. For lunchboxes, reheat in a toaster oven or conventional oven to restore crisp texture.
These Crispy Chicken Tacos are proof that simple ingredients treated with good technique can be extraordinary. They’re fast, forgiving, and endlessly customizable — perfect for busy nights or feeding a hungry crowd. Make them your own and enjoy the crunch.
Warm tortillas briefly in a damp towel to prevent cracking when folding.
Brush tortillas with oil to achieve an evenly crisp, golden shell.
Bake in two stages (flip midway) for fully caramelized, crunchy edges.
Let tacos rest 3 minutes after baking so they finish crisping and the filling sets.
This nourishing ridiculously easy crispy chicken tacos recipe is sure to be a staple in your kitchen. Enjoy every moist, high protein slice — it is perfect for breakfast or as a wholesome snack any time.
Yes — use rotisserie or leftover cooked chicken. If cooking fresh, poach or roast boneless chicken breasts until internal temp reaches 165°F, then shred while warm.
Yes. Store airtight in the fridge for up to 3 days; re-crisp in a 375°F oven for 6–8 minutes to restore texture.
This Ridiculously Easy Crispy Chicken Tacos recipe makes perfectly juicy, tender, and flavorful steak every time! Serve with potatoes and a side salad for an unforgettable dinner in under 30 minutes.
Preheat oven to 450°F. In a mixing bowl, toss 4 cups shredded chicken with 2 tablespoons taco seasoning until evenly coated. Add a splash of chicken stock or 1 tablespoon olive oil if chicken is dry.
Wrap 14 corn tortillas in a damp towel and microwave on HIGH for 30–60 seconds until pliable. This prevents cracking and helps them fold during assembly.
Spritz two half-sheet pans with nonstick spray. Brush one tortilla both sides with 1/4 cup olive oil, stacking and brushing the top of each until all are oiled.
Place a tortilla on the greased pan, add about 2 tbsp cheese on half, 1/4 cup seasoned chicken, and another 2 tbsp cheese. Fold over, press gently, and arrange in a single layer with space between each.
Bake 8–10 minutes, flip each taco with a spatula, then bake another 8–10 minutes until tortillas are golden and escaped cheese is deep golden brown.
Allow tacos to rest 3 minutes so they finish crisping, then squeeze fresh lime over them and serve with desired toppings.
Last Step: Please leave a rating and comment letting us know how you liked this recipe! This helps our business to thrive and continue providing free, high-quality recipes for you.
Leave a comment & rating below or tag
@silksavor on social media!

Tender baked salmon crowned with a garlicky Parmesan herb crust, bright lemon, and buttery crunch. Simple to make, stunning to serve, and irresistibly flavorful.

Buttery graham crust, silky cheesecake, and cinnamon-kissed apples under a crunchy crumb, finished with glossy caramel. A fall crowd-pleaser you will crave.

Tender green beans in silky mushroom cream, crowned with crispy onions. A comforting holiday side made entirely from scratch that always disappears fast.
Leave a comment & rating below or tag @silksavor on social media!
Enjoyed this recipe? Share it with friends and family, and don't forget to leave a review!
This recipe looks amazing! Can't wait to try it.
Comments are stored locally in your browser. Server comments are displayed alongside your local comments.

Join to receive our email series which contains a round-up of some of our quick and easy family favorite recipes.
